You can easily install FFmpeg on Ubuntu by following the instructions in this post, which include the best methods for downloading it to your computer. Just be careful you fulfill the requirements.
- Ubuntu’s latest version (22.10) installed
- User with root or sudo rights
- Access to the terminal
The setup procedure is extremely straightforward because FFmpeg packages are available for the most used Linux distributions.
Confirm if FFmpeg is already installed
- Press (CTRL + ALT + T) to open the command prompt.
- Type ffmpeg -version in the terminal and press enter.
- If it displays the command not found, you must install ffmpeg using the methods explained in this article.
Install FFmpeg with apt
The apt command is an effective command-line tool that integrates with Unix Advanced Packaging Tool (APT). So let’s begin!
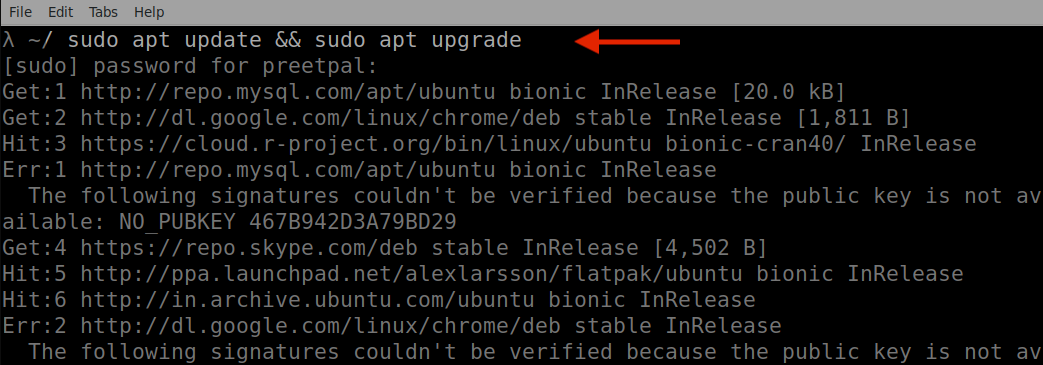
Step 1: Update the current repository
- Open the
terminal(CTRL + ALT + T) and run the following command to update the most recent version of each package and dependency. - Then we use the upgrade to obtain the latest version of out-of-date packages.
sudo apt update && sudo apt upgrade
- Hit y(Yes) to continue the process.
Step 2: Install FFmpeg
- Execute the command provided to begin downloading FFmpeg to your computer.
sudo apt install ffmpeg
Step 3: Verification
- Simply use the below command, it will be successfully installed if it returns the most recent versions.
ffmpeg -version

Here, it displays the outdated FFmpeg version currently installed; to get the most recent version, try deleting and reinstalling FFmpeg or using snappy as detailed below.
Install FFmpeg with snappy
The main goal of this package manager is to provide universal packages that operate on any distribution and on anyone’s “app store.”
Snaps are routinely updated on a regular basis, unlike FFmpeg packages in the official Ubuntu repository, guaranteeing users always have access to the latest version.
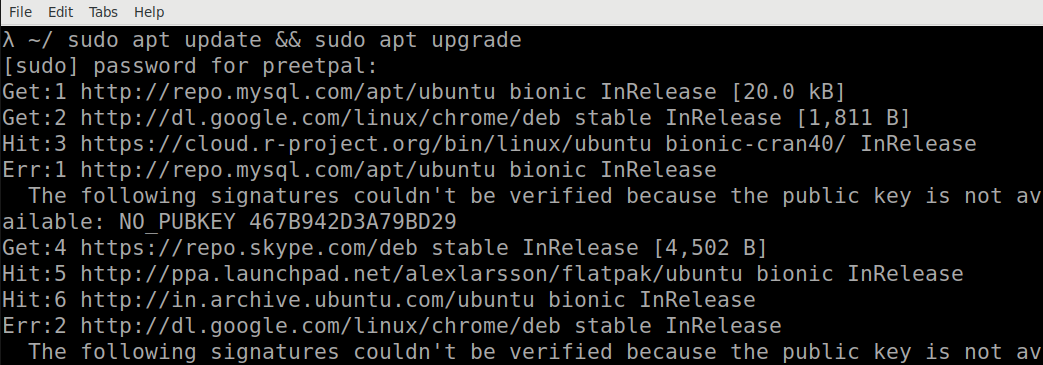
Step 1: Update the current packages
- Press CTRL + ALT + T to open a command prompt and execute:
sudo apt update && sudo apt upgrade
- Tap y(Yes) to continue the process.
Step 2: Download Snap on your system
- Type the below command in the terminal and hit enter to initiate the process.
sudo apt install snapd
Step 3: Confirmation
- Check if the snap is installed correctly or not.
snap version
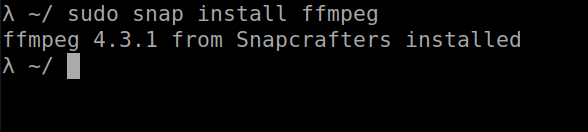
Step 4: Get FFmpeg
-
Run the following command to get the latest version of FFmpeg.
sudo snap install ffmpeg -
The installation will start, as shown by the status bar in the terminal, and when it is finished, the following will happen:

Note: If you already installed ffmpeg using apt, remove the package, restart your computer, and then install ffmpeg using snap.
Step 5: Verify
- To confirm that FFmpeg is installed, run the following:
ffmpeg -version
Congratulations, your computer has successfully installed FFmpeg if it shows the FFmpeg version.